GETTING SETUP
Applying nets can be simple, but making them look good and having the process run smoothly is complicated. Applicator height, tension, rate, positioning, are all important in creating a great end result.

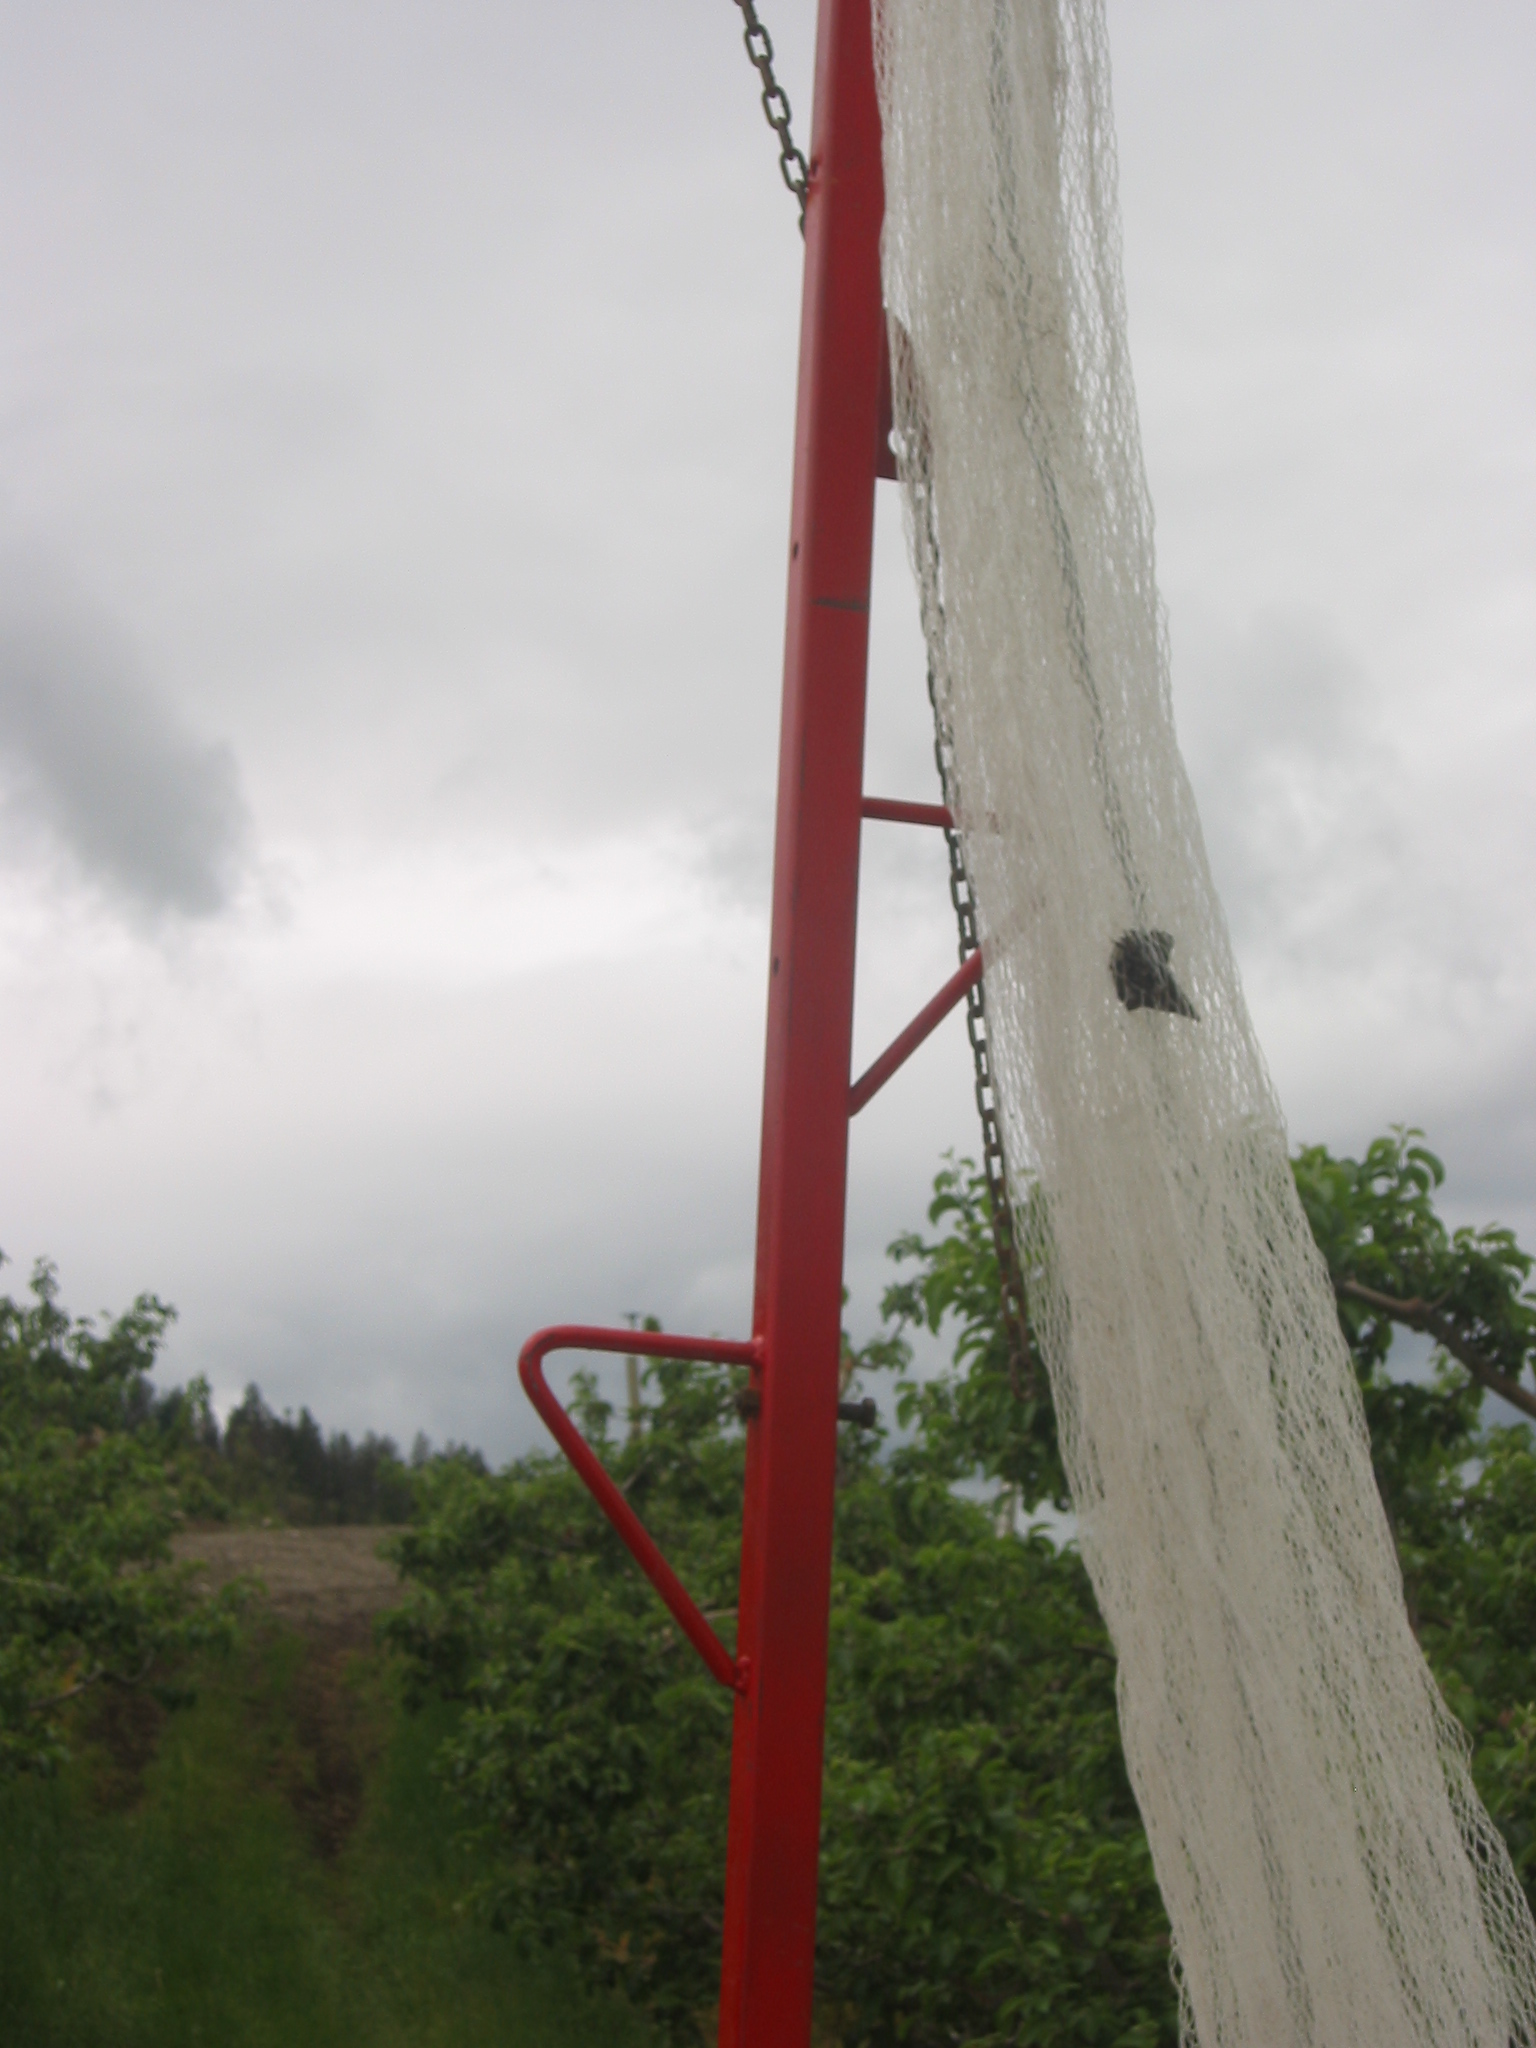
The first thing to make sure of when setting up is to feed the end of the net through the loop in the correct direction. While not critical, going the wrong direction means the net will rub on the side of the loop, making it harder to get the amount of tension you want. If you are on a side slope, always drive the tractor along the uphill side of the row, this way the mast will lean the correct direction and you gain space between the boom and the top of the row.
When raising the applicator boom, you want to pull it to a height several feet above the top of the row. This will give you time and space to adjust the feed rate and prevent the net from getting twisted into the canopy.
PUTTING ON THE NET
The way I put on net is with one person either in the bin (or pallet) with the net, or walking just behind the tractor. This person’s job is to match application rates with the person on the opposite side of the row. The most important role is that of the opposing-side worker. They have control over the tension of the net, and I find the best position to control this is from a substantial distance behind the tractor. I walk twenty or more feet behind the tractor on the opposing-side when applying netting.
Both people applying the nets should watch as the netting leaves the boom, trying to match rates. The net twists if the rate is inconsistent, but twists can be removed by compensating correctly.
I hope this was helpful, if you have any questions let me know. I’ve been putting on netting for 14 years, so I might have some tricks.
Cheers,
Joel
